
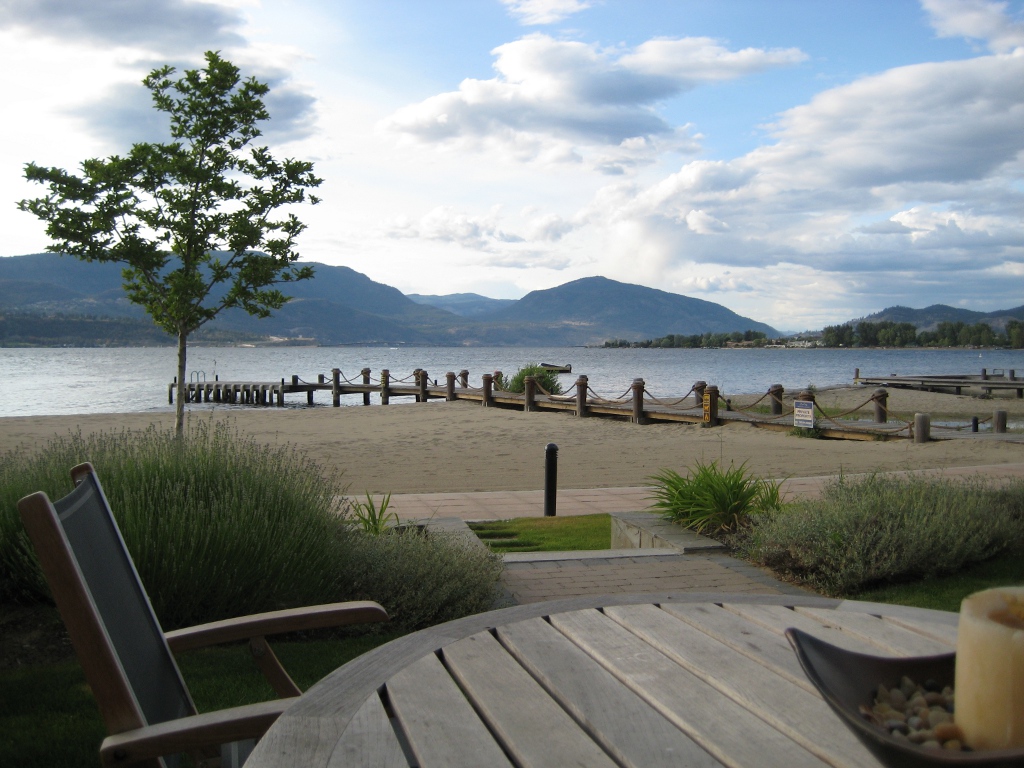
To open a file, go to File->Open and browse to your image. Below is the original image we will be using for this tutorial. Click here to download the image.

To improve composition (or to crop out window edges if you took the picture from inside a vehicle), press Shift+C to select the Crop Tool. You can either click and drag on the photo or enter values in the Crop Dialog in the Toolbox window.
Most digital camera photos are over- or under-exposed or have imperfections in lighting. One simple way to correct this is to use the colour auto-correction tools. You will find these tools at Colours->Auto. Try the different tools to see which works best for your picture, but remember to undo (press Ctrl+Z) after each operation or the effects will be applied on top of each other.

Original Image |
Colour-Enhanced Image |
 |

|
Artistic Filters can be applied to create special effects. We will use Softglow as an example. Softglow makes bright areas of the image brighter. To use Softglow, go to Filters->Artistic->Softglow. You can use the preview window to see how adjusting glow radius, brightness and sharpness will affect your photo. When you're happy with the result, press Ok.

Original Image |
Image With Softglow Applied |
|

|
We can use the Brightness-Contrast tool to correct for an over- or under-exposed photo. To use this tool, click on Colours->Brightness-Contrast. Our photo has a bright sky and a much darker foreground. We can bring out the detail in the clouds by setting Brightness = -35 and Contrast = 15, but the foreground becomes very dark, as you can see below. Alternatively, we can brighten the whole picture by setting both Brightness and Contrast to 20, but we lose the detail in the sky.

Original Image |
Image With Brightness=-70, Contrast=40 |
|

|
Original Image |
Image With Brightness=40, Contrast=40 |
|

|
Click on Colours->Colour Balance, then adjust the values as you like. Our photo has lots of blue and green so it looks "cold". To warm it up, we can set Red = 60, Green = 45, and Blue = 35.

Original Image |
Colour-Balanced Image |
|

|
If your photo is blurry, you can use the Unsharp Mask to fix it. Click on Filters->Enhance->Unsharp Mask. The default values should work well, but feel free to change them if you want.

Original Image |
Image With Unsharp Mask Applied |
|

|